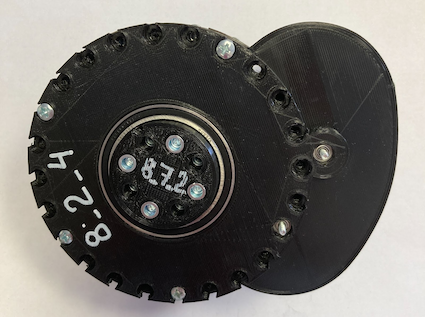
ORA-3. Assembly Manual

This post contains the step-by-step guide on how to assemble the 3d printed robotic actuator ORA-3. It covers only the mechanical operation, electronic components soldering and programming are not covered here.
3D Printed Parts List
| # | Part Name | Image | Quantity |
|---|---|---|---|
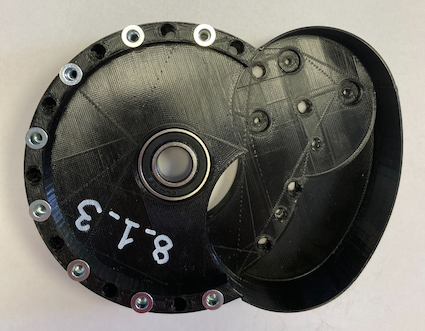
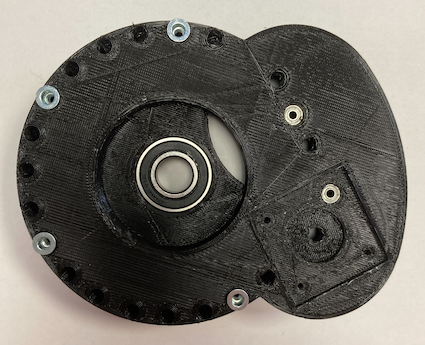
| 1 | ORA-3 Body | 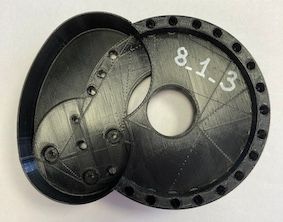 |
1 |
| 2 | ORA-3 Cover | 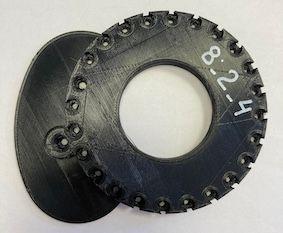 |
1 |
| 3 | ORA-3 2:1 Gear | 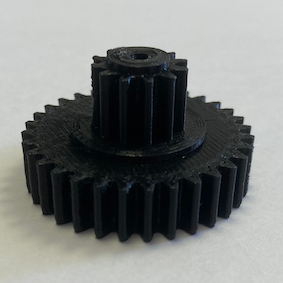 |
1 |
| 4 | ORA-3 Small Gear | 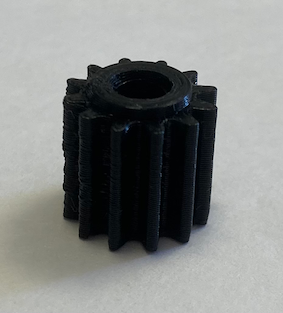 |
1 |
| 5 | ORA-3 5:1 Gear | 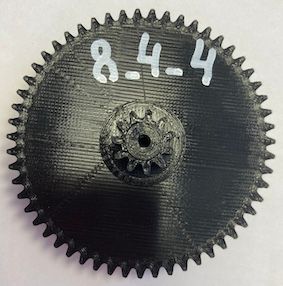 |
1 |
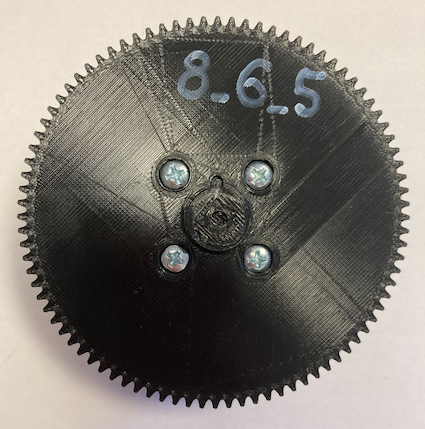
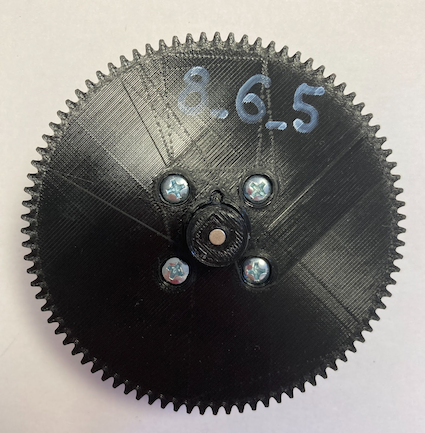
| 6 | ORA_3 Main Gear | 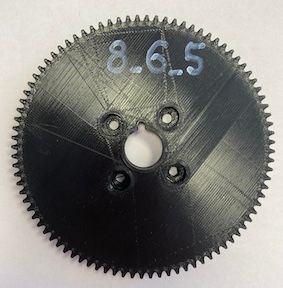 |
1 |
| 7 | ORA-3 Main Shaft | 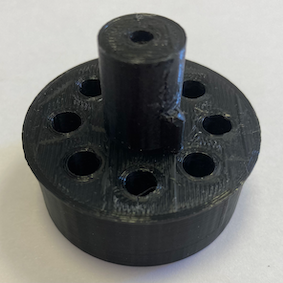 |
1 |
| 8 | ORA-3 Flange | 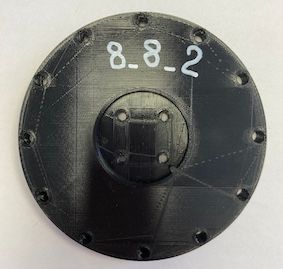 |
1 |
| 9 | ORA-3 AS5600 Holder | 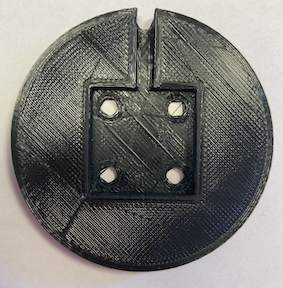 |
1 |
Non-3D Printed Parts List
| # | Part Name | Image | Quantity |
|---|---|---|---|
| 1 | 6002 Bearing | 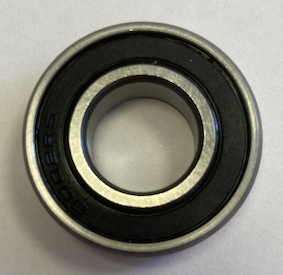 |
1 |
| 2 | 6809 Bearing | 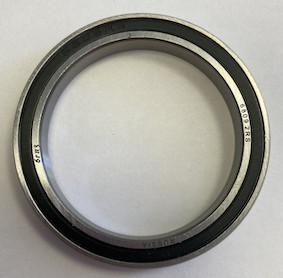 |
1 |
| 3 | MR83ZZ Bearing | 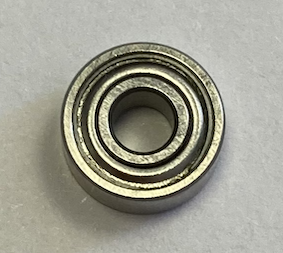 |
4 |
| 4 | M3x35 Screw | 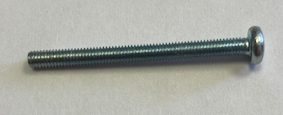 |
2 |
| 5 | M4x20 Screw | 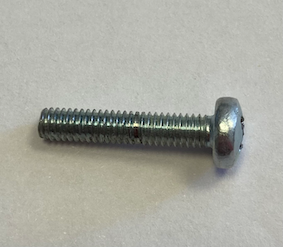 |
8 |
| 6 | M4x35 Screw | 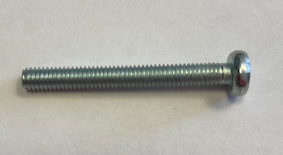 |
4 |
| 7 | M3x8 Screw | 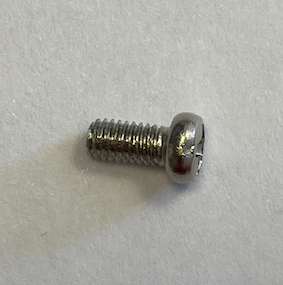 |
8 |
| 8 | M3 Washer | 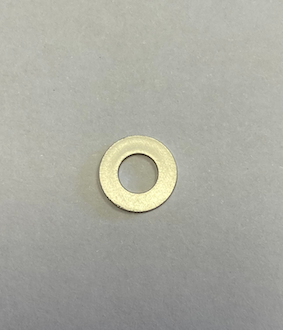 |
2 |
| 9 | M4 Split Washer | 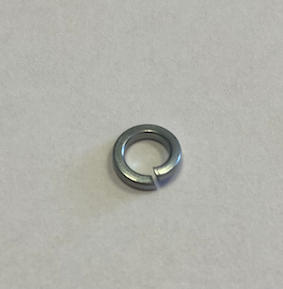 |
12 |
| 10 | M3 Split Washer |  |
4 |
| 11 | M3 Nut | 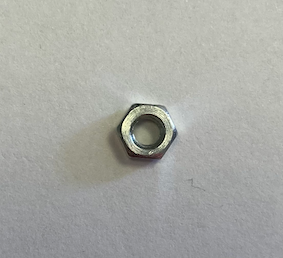 |
4 |
| 12 | M4 Threaded Rivet |  |
20 |
| 13 | Lithium Grease |
Electronics
| # | Part Name | Image | Quantity |
|---|---|---|---|
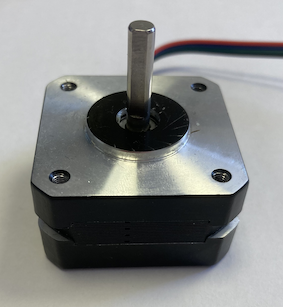
| 1 | Nema17 Stepper Motor |
 |
1 |
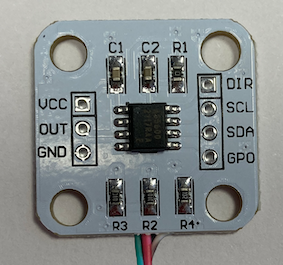
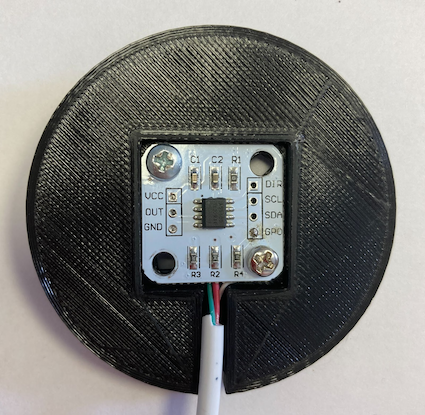
| 2 | AS5600 Absolute Position encoder |
 |
1 |
Assembly Guide
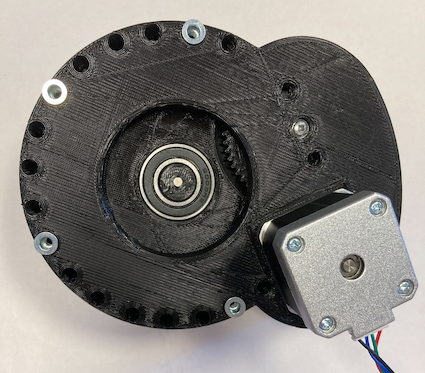
1. Push 6002 Bearing into the ORA-3 Body
2. Push 2xMR83ZZ Bearings into the ORA-3 Body
3. Push 6809 Bearing into the ORA-3 Cover
4. Push 2xMR83ZZ Bearings into the ORA-3 Cover
5. Insert 4xM4 threaded rivets into the front side of the Main Shaft
6. Insert 4xM4 threaded rivets into the rear side of the Main Shaft
7. Insert 8xM4 threaded rivets into the front side of the ORA-3 Body
8. Insert 4xM4 threaded rivets into the rear side of the ORA-3 Body
9. Mount Main Gear on the Main Shaft
Use 4xM4x20 Screws and 4xM4 Split Washers
10. Push the Encoder Magnet into the Main Shaft
11. Mount 5:1 Gear into ORA-3 Body
Use M3x35 Screw as a shaft for 5:1 Gear
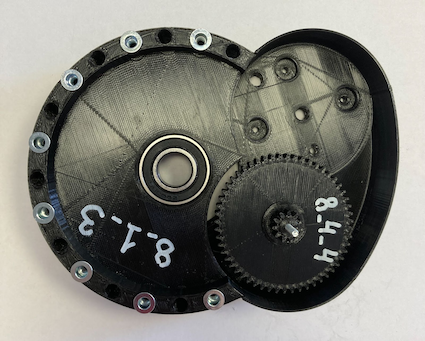
12. Mount Main Gear + Main Shaft into ORA-3 Body
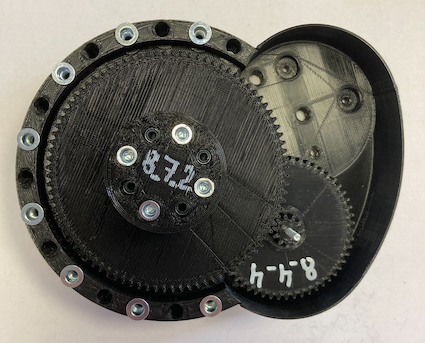
13. Mount 2:1 Gear into ORA-2 Body
Use M3x35 Screw as a shaft for 2:1 Gear
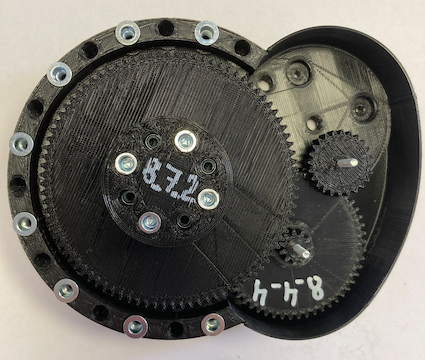
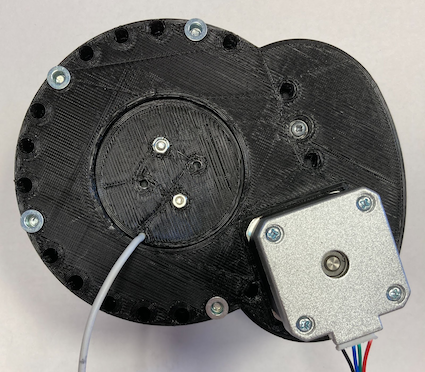
14. Mount Nema17 Motor with M3x8 screws
15. Mount Small Gear on Nema 17 Shaft

16. Apply Lithium Grease to all Gears
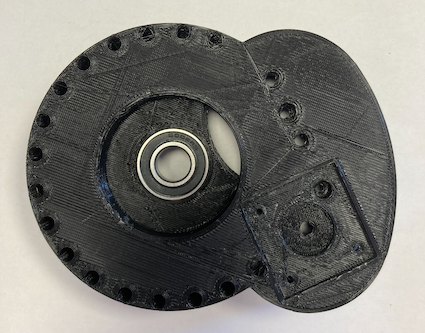
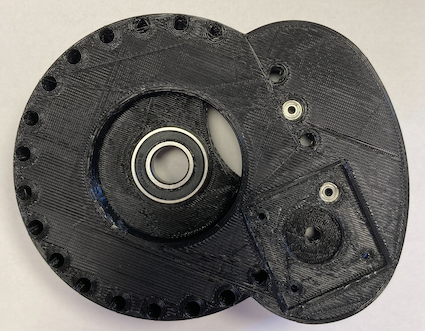
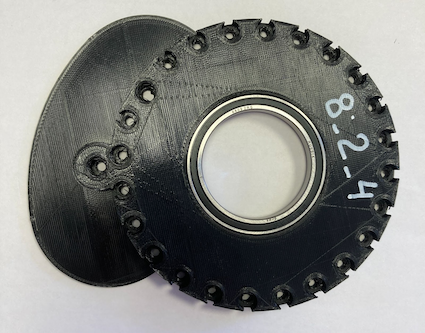
17. Mount ORA-3 Cover
Use 4xM4x35 Screws and 4xM4 Split Washers as shown on the picture.
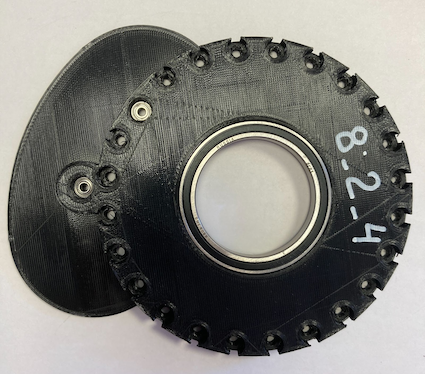
18. Mount ORA-3 Flange
Use 4xM4x20 Screws and 4xM4 Split Washers as shown on the picture.
19. Mount AS5600 Encoder into the AS5600 Holder
Use 4xM3x8 screws and 4xM3 Split Washers
20. Mount AS5600 Holder into ORA-3 Body